Pixel Art - Mechanic's Tool Set Asset Pack - Devils Work.shop
A downloadable asset pack
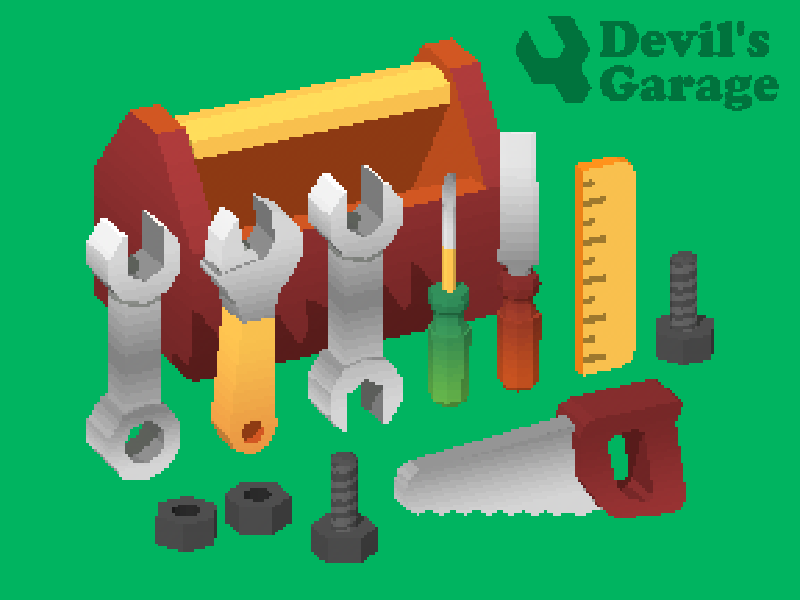
Thinking about building that machine shop / mechanic game? Look no further with the Mechanic's Tool-set Asset Pack.
The Devil's Work.shop Pixel Art asset pack contains a whole bunch of tools. These assets have been drawn in 8 directions and some of them even have different angles. The assets are organized, named logically, trimmed to the smallest size. The asset pack also contains a texture atlas of all the assets.
If you like this Game Asset Pack, please consider taking a moment to rate/review it. Your continued support helps The Devil's Work.shop bring new improvements to the pack. Cheers!
Looking for the 3D asset?
Frequently Bought Together
Features
- Free periodic updates
- Mobile-ready assets
- 3D version of this asset pack also available
Cheers!
Note: We have dropped support for Roblox based projects


Download
Click download now to get access to the following files:
Development log
- .dot build - new assetsFeb 25, 2018

Comments
Log in with itch.io to leave a comment.
I'm very interested on the pipeline that takes simple 3D models and turns them into a a crisp pixelart looking sheet. What I've come up with so far is cumbersome and not scalable to a huge quantity of items whatsoever, any pointers?
I hear you. There’s more than one way to convert a 3D model to pixel art. This is how I did it, but it might not be the most efficient. For those who want a simpler approach, I’ve included some awesome tools at the end that do a fantastic job with less control over the final quality.
Here’s the process I used:
I started by creating the 3D asset pack itself. To make coloring easier later, I used vertex colors to differentiate the object’s faces.
With the models done, I used a fixed lighting and camera setup to render the objects at a desired resolution. Here’s a tip: ensure all your objects are modeled to scale with each other. Render the largest object first at your chosen resolution, then use the same resolution for the smallest prop to see if the pixel density works for your game. For mine, I went with a slightly higher resolutiion for a balance between a pixelated look and avoiding excessive blockiness.
Once rendered, I imported the images into my preferred pixel art tool (Aseprite in this case). Here, I made any necessary adjustments, added colors, or limited the color palette to fit the desired style.
While my method works, there are some fantastic tools that can streamline this process:
I'll have to go tinker with these pointers in mind. Thanks for the tips!
Come to think of it, maybe what I'm actually after is a way to turn a viewport arrangement into vector graphics. Objects are already made out of connected points and I dig the flat colors, so you could scale at any resolution you please as a middle step OBJ -> Vector -> PNG.
On that note actually, do you use any special light settings or rendering passes? Or just a top down 45º rotated sun?
I tend to not stick to a fixed (i.e 45degrees) light source, but move the light source around to produce the visual marker I’m aiming for. The number of light sources depends on your object’s shape. Round or cylindrical objects often benefit from additional lighting to define their form. Consider using a backlight and rim lighting to achieve this. For objects that cast heavy shadows, try using an opposing light source that doesn’t cast its own shadow. This helps brighten up the dark edges and maintain readability in your pixel art.
As for the render pass - assets are exported as PNG with transparency, and no alias so it renders jagged edges. I use the default editor view so it’s easier to iterate and re-render